Getting Started with 3D Visualization Tools
Learn the fundamentals of 3D software and how to create realistic interior renderings
Master the art of creating stunning renderings that help clients visualize finished interiors before construction begins.
Your design is brilliant. But here’s the thing — most clients can’t picture it from a floor plan. They need to see it. Not a sketch, not a concept board, but an actual photorealistic view of their space transformed.
That’s where photorealistic renders come in. They’re the bridge between your creative vision and your client’s confidence to move forward. A good render doesn’t just show what the space will look like. It builds trust, reduces design revisions, and gets projects approved faster.
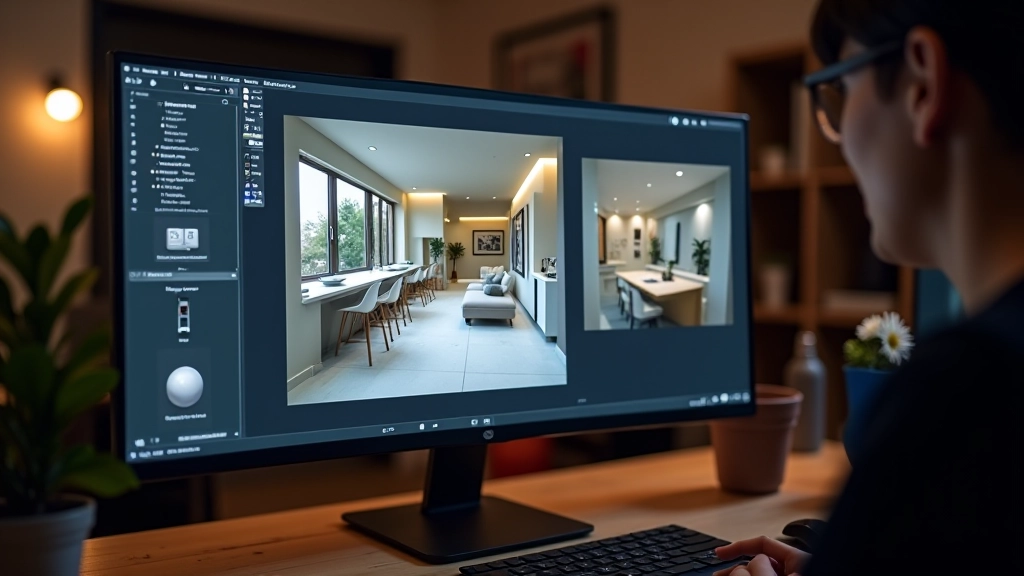
You don’t need expensive software to create professional renders. What you need is a solid process. Start with your 3D model — make sure it’s clean and accurate. Remove any unnecessary geometry that’ll slow down rendering time.
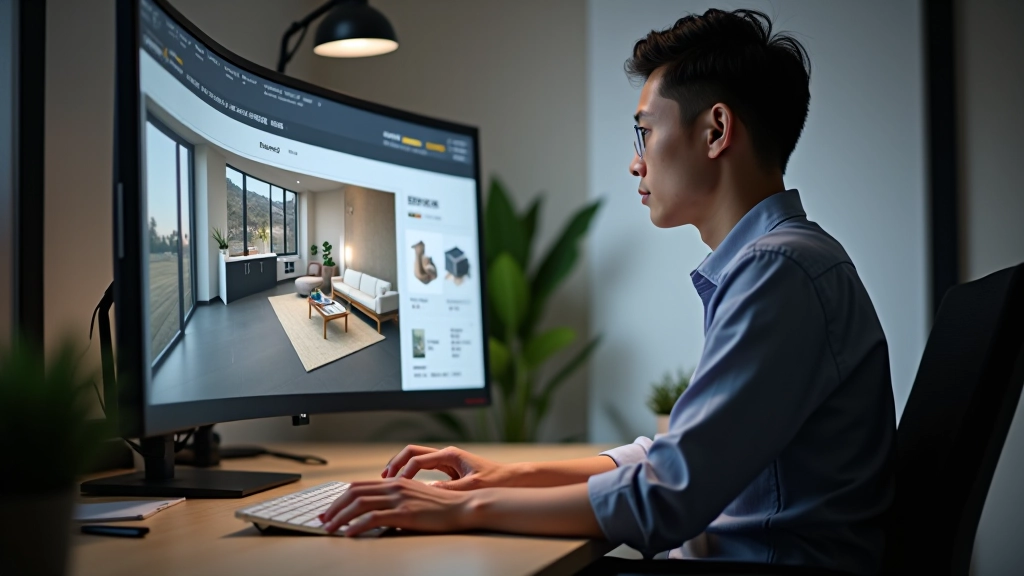
Next, get your materials right. This is where most designers stumble. A matte white wall isn’t just pure white — it’s got warmth, slight texture, and subtle variation. Spend time on material libraries. Quality materials make the difference between “okay” and “wow.”
Camera placement matters too. Don’t just plop the camera anywhere. Consider sight lines, focal points, and what tells your design story best. A well-placed camera shot can make a small room feel spacious or highlight architectural details that justify your design decisions.
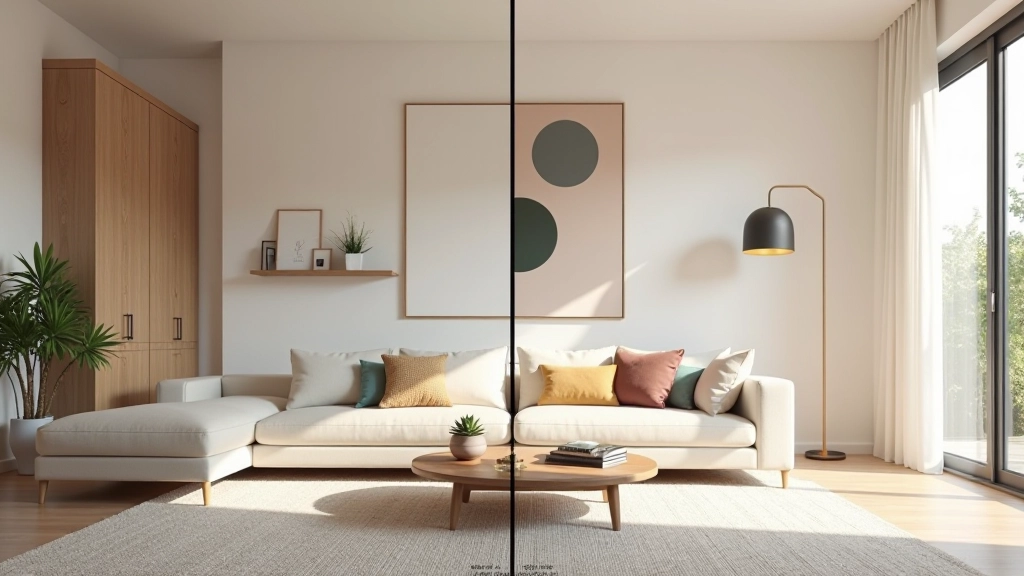
Lighting isn’t just about brightness. It’s about mood, depth, and drawing attention to what matters. You’ll want at least three types of light in every scene: key light (the main light source), fill light (softens shadows), and accent light (highlights special features).
Natural light is your best friend, but don’t ignore artificial lighting. Warm LED lights make spaces feel inviting. Cool overhead lighting can feel clinical. Get this wrong and your beautiful interior looks cold or washed out. Most professional renderers spend 30-40% of their time just getting the lighting right.
Watch how light interacts with materials. A glossy marble countertop catches light differently than matte concrete. Glass reflects the environment. Fabric absorbs light softly. These subtle details are what separates amateur renders from photorealistic ones that actually look like photographs.
This guide covers fundamental techniques for photorealistic rendering in interior design. Actual rendering times, quality levels, and software capabilities vary significantly based on hardware, software version, and project complexity. Lighting behavior and material physics are approximations — your specific results will depend on your 3D software and chosen rendering engine. Consider consulting rendering documentation for your particular tools and exploring test renders with your own models to understand how these principles apply in your workflow.
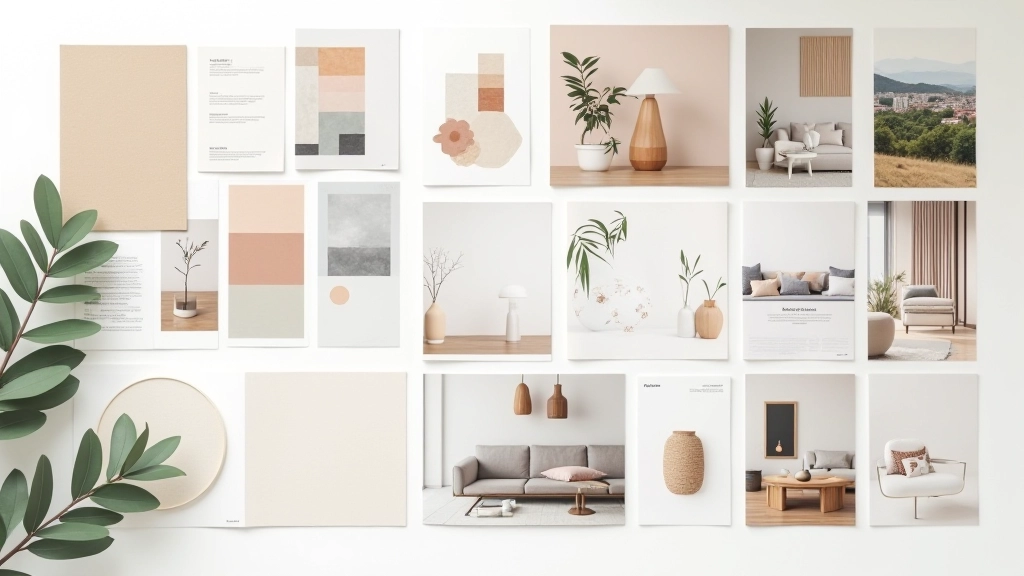
You’ve got a stunning render. Now what? Don’t just email it as a JPEG attachment. Present it thoughtfully. Create a visual presentation that tells the story of the space. Show before and after. Include close-ups of important details — that custom millwork, the material selection, the lighting effect.
Walk your client through the render as if they’re standing in the space. “See how the light comes in from the south-facing window in the afternoon? That’s why we positioned the seating here.” Make it real. Help them experience it, not just see it.
Include multiple camera angles too. Wide shots show the overall space. Medium shots reveal furniture arrangement. Close-ups highlight finishes. This variety helps clients understand the complete design from different perspectives. You’re not just showing them what it looks like — you’re showing them why you made every decision.
Before you show a render to a client, check it thoroughly. Look for artifacts — those weird pixels or shadows that happen during rendering. Make sure reflections are realistic. Check that the perspective isn’t distorted. Run a quick mental test: would a photograph look like this?
Post-processing is your secret weapon. A good render out of the software is just the starting point. Minor color correction, subtle contrast adjustment, and slight sharpening can elevate a good render to excellent. But here’s the key — these adjustments should be subtle. If someone notices the editing, you’ve overdone it.
Create a checklist for every render: correct materials applied, lighting balanced, camera positioned well, shadows realistic, reflections present, no stray geometry, colors accurate to your design intent. Takes maybe 10 minutes per render, but it’s the difference between professional work and amateur work.
Photorealistic rendering isn’t magic. It’s a combination of technical knowledge, attention to detail, and practice. You’ll get faster with time. Your renders will improve with each project. Most importantly, your clients will feel more confident in your designs because they can actually visualize the finished space.
Start small. Pick one project this week and create three different camera angles. Get the lighting right. Spend time on materials. See how it feels to present a render that genuinely looks photorealistic. Then do another one. And another. That’s how you become the designer clients trust with their vision.