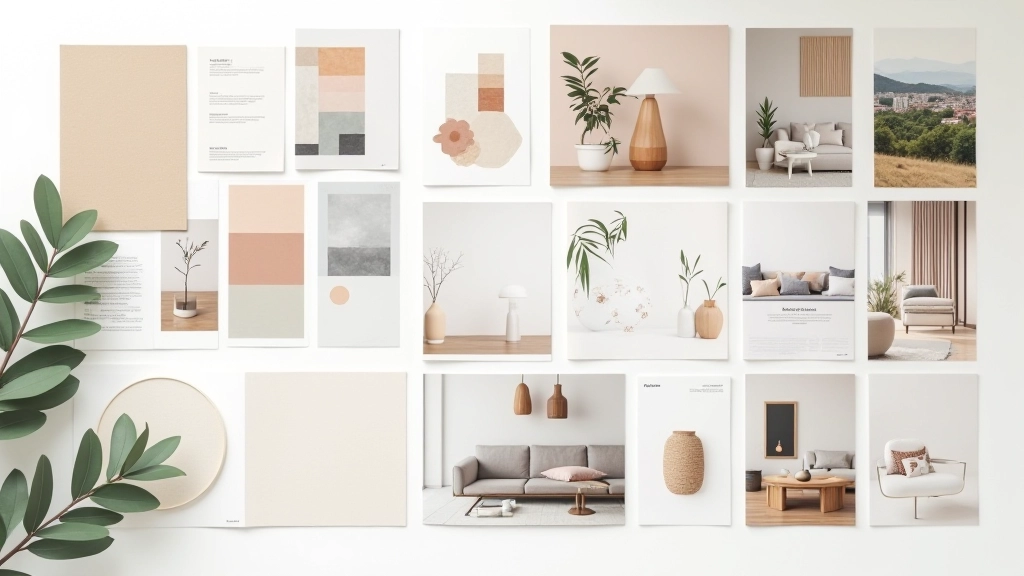
Mood Board Creation That Actually Works
Discover how to curate materials and colors that communicate your design vision clearly to clients and collaborators.
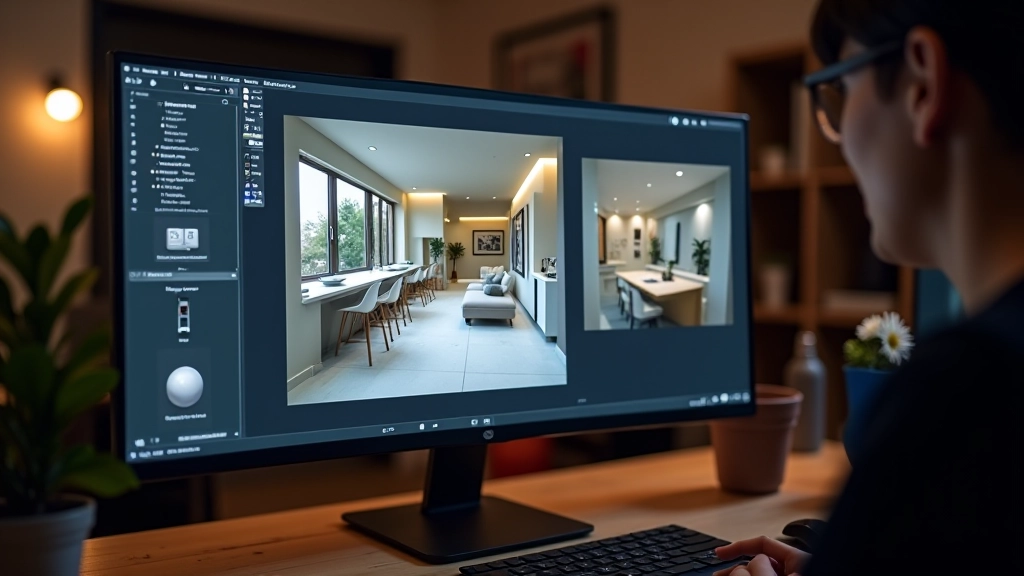
Learn the fundamentals of 3D software and how to create realistic interior renderings from your sketches.

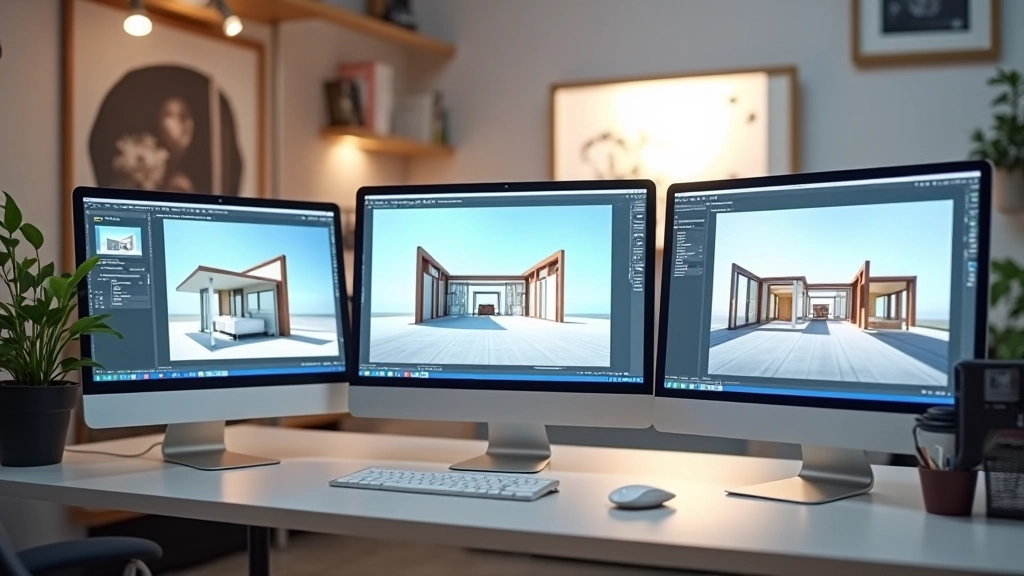
If you’re an interior designer in Hong Kong just starting out with 3D visualization, you’re probably wondering where to begin. There’s a lot of software out there — Sketchup, 3ds Max, Revit, Blender. It’s easy to feel overwhelmed. But here’s the thing: you don’t need to master everything at once. Most designers start with one tool and gradually build their skills from there.
The goal isn’t to become a 3D artist overnight. You’re learning to visualize your designs in a way that helps clients understand your vision. That’s actually much more achievable than it sounds.
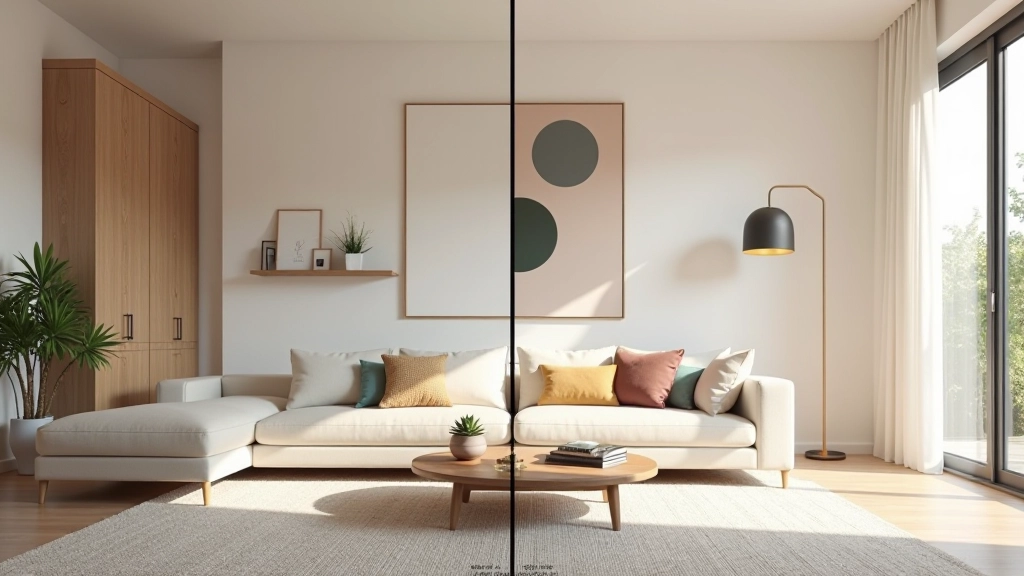
A 2D floor plan tells clients about space. A 3D render shows them how it’ll feel. That’s the difference between understanding a design and actually seeing yourself living in it. When clients can walk through a virtual space before construction starts, they’re more confident about decisions and less likely to ask for changes mid-project.
There are basically three categories of 3D tools you’ll encounter. First, there’s the architectural software like Revit and ArchiCAD. These are powerful but complex — they’re designed for structural information as much as visualization. They’ve got a steep learning curve, but if you’re already working with building information modeling, they’re worth learning.
Then there’s the middle ground. Sketchup sits here comfortably. It’s intuitive, it’s got great plugins, and honestly, it’s what a lot of Hong Kong interior designers use for quick client presentations. You can learn the basics in a few weeks.
Finally, there’s the powerhouse software like 3ds Max, Cinema 4D, and Blender. These are for serious visualization work — photorealistic renders that look like photographs. They take longer to learn, but the results speak for themselves.

If you’re just beginning, Sketchup is probably your best entry point. It’s not the most powerful tool, but it’s the most approachable. You can go from sketch to basic 3D model in about an hour. That’s actually really important psychologically — you get to see results quickly, which keeps you motivated.
The workflow is straightforward. You start with 2D shapes — rectangles, circles, lines. Then you push and pull them into 3D forms. It sounds simple because it is. Most beginners can model a basic room in their first week. Add some textures and lighting in week two, and you’ve got something you can show clients.
The real power comes from the plugin ecosystem. Extensions like Vray for Sketchup transform your basic models into photorealistic renderings. Lumion is another popular choice — you import your model and it handles the rendering in minutes.
Get comfortable with the interface. Learn how to draw shapes, move them in 3D space, and use basic tools. You’re not creating anything fancy yet — just building muscle memory.
Take one of your own design projects or a simple room layout. Model the walls, add a window, place basic furniture. Don’t worry about details yet. Focus on getting the proportions right.
Apply textures and colors to your model. Paint walls, add flooring, assign materials to furniture. This is where your design vision actually starts to come alive in 3D.
Position lights in your scene — natural light from windows and artificial light from fixtures. Render your first image. It probably won’t be perfect, but you’ll see what’s working and what needs adjustment.
People often try to model every detail at the start. Don’t. Model the big shapes first — walls, furniture volumes, architectural elements. Details like door handles and trim can come later. Also, don’t ignore lighting. Bad lighting ruins even well-modeled spaces. Spend time getting your light setup right.
Three skills will take you from beginner to competent quickly. First is understanding scale and proportion. Everything needs to be the right size relative to everything else. A door should be about 2.1 meters tall. Standard furniture dimensions matter. When you get this right, spaces feel natural to clients immediately.
Second is material selection. The difference between a luxury interior and an ordinary one often comes down to materials. Learn how to find and apply realistic textures. Understand how light bounces off different surfaces — marble looks different from matte paint.
Third is camera positioning. A good view sells a space. A bad camera angle makes even beautiful design look awkward. Learn the rule of thirds. Position your camera at eye level (about 1.5 meters). Don’t use extreme wide angles unless you’re trying to show the full room in a tight space.

The biggest barrier to learning 3D visualization is overthinking it. You don’t need to understand rendering algorithms or advanced physics simulations. You need to learn how to translate a 2D design into a 3D space that looks professional and helps clients visualize your ideas.
Pick Sketchup if you want to start simple and fast. Or pick Blender if you want to dive deeper right away. Either way, the most important step is starting. Spend an hour this week watching a basic tutorial. Then spend the next week playing around with a simple model. That’s how every designer who’s good at this started.
Your first render won’t be gallery-ready. That’s fine. It’ll be good enough to show clients and iterate with them. And that’s really all you need in the beginning.
This article provides general educational information about 3D visualization tools and learning approaches. Software capabilities, user interfaces, and features change frequently with updates. Specific tools mentioned may have different versions, pricing structures, or availability depending on your location and timing. We recommend checking official software documentation and current resources for the most up-to-date information about features and learning pathways. Individual learning timelines vary based on experience level, available practice time, and prior technical skills.